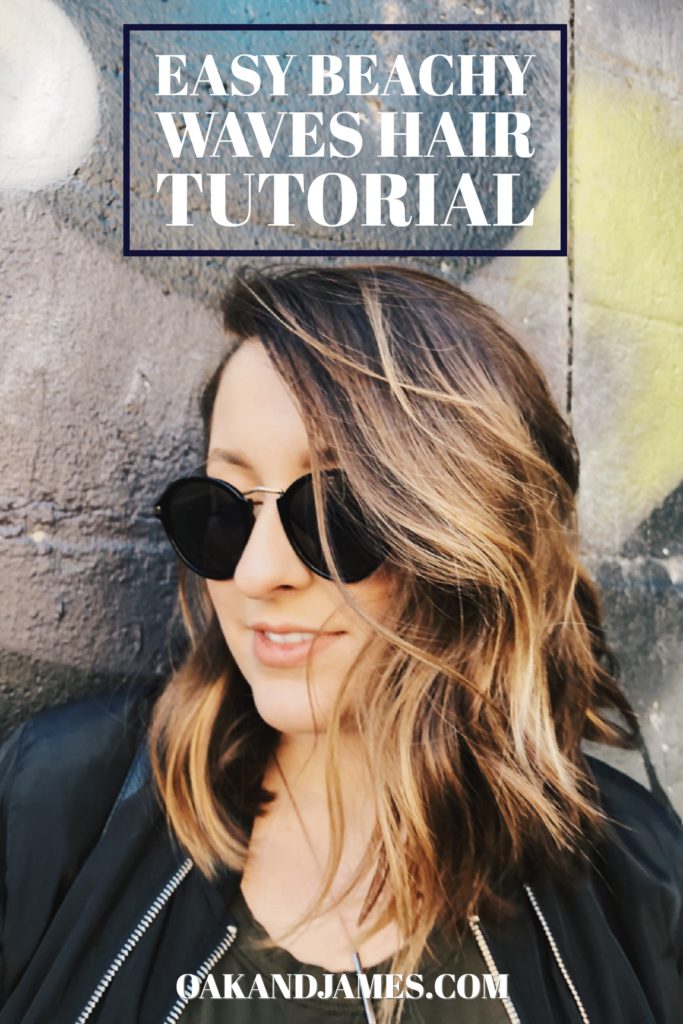
The quest for the perfect beachy waves has been time-consuming and strenuous but ladies and gentlemen, I have finally mastered the art of beachy textured waves! Ever since high school, I’ve been curling my hair on a near-daily basis. I’ve used numerous curling irons and wands, tried out an abundance of hair products claiming to help make your hair more beachy and textured, and attempted countless techniques to achieve the perfect wave. Only until recently have I finally mastered the perfect wave and I knew I had to share it with you. For me, it’s all about the technique. You can use whatever curling iron you want but if you have the technique down, it will end up being the ideal beachy, lived-in wave you want. If you need a demonstration, check out the video below. Enough chit-chat — let’s get our beachy waves on!
The Beachy Waves Process
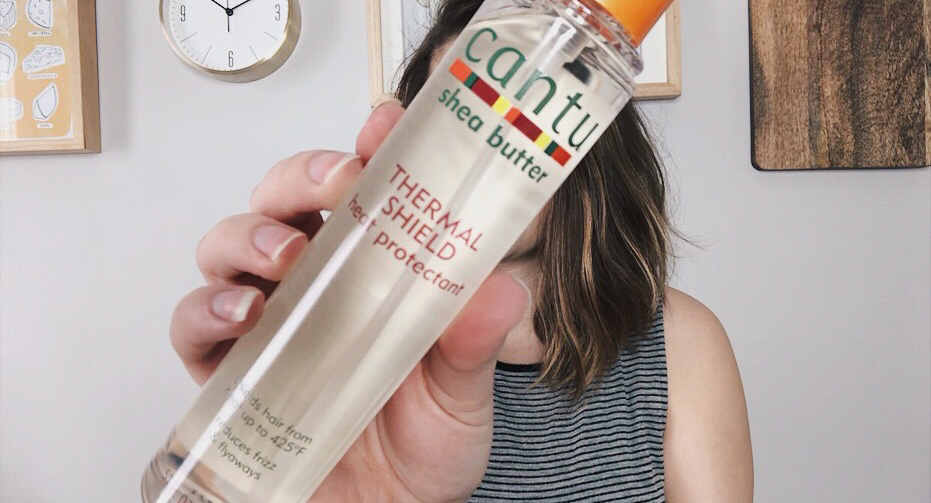
I start off with clean hair. I wash my hair every other day, so I find that I can do this with freshly-washed hair and with second-day hair. First, spray your hair with a heat protectant. I love the Cantu Thermal Shield Heat Protectant Spray. It’s amazing. I spray this all throughout my hair and brush it through afterward. (Purchase the Cantu Shea Butter Thermal Shield Heat Protectant, 5.1 Fluid Ounce)
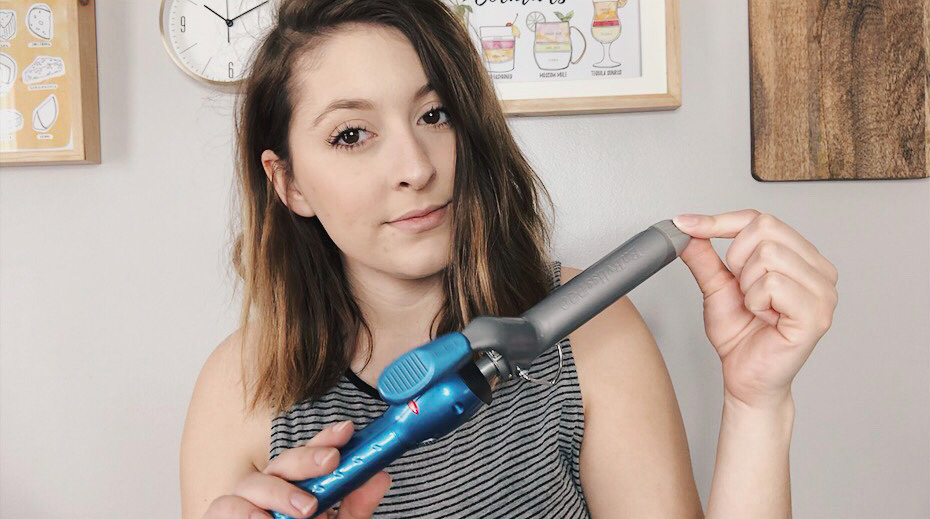
Then, I grab my trusty curling iron. I use the BabylissPRO Nano-Titanium 1-inch Curling Iron. It’s a really amazing curling iron — I highly recommend it! I set the curling iron to about 42 on the heat settings. (Purchase the BaBylissPRO Nano Titanium Spring Curling Iron, 1 Inch)
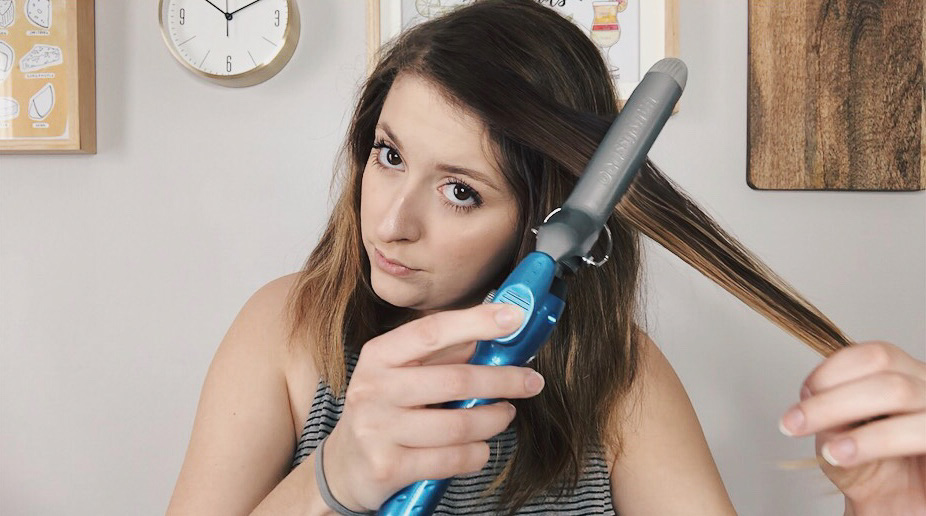
Once it heats up (approx. 15 seconds), I grab a 1-inch to about 1 1/2-inch chunk of hair. How much hair you grab really doesn’t matter too much. In fact, I grab different sized section each curl. This helps ensure your curls/waves look more textured and natural. With my 1-inch section in-hand, I clamp the curling iron near the top of the section, slide it down about 1/3 of the way down the hair length, and wrap the hair up once. I slide it to ensure any frizz is tamed and curling it around once will ensure your wave is defined near the top of your head.
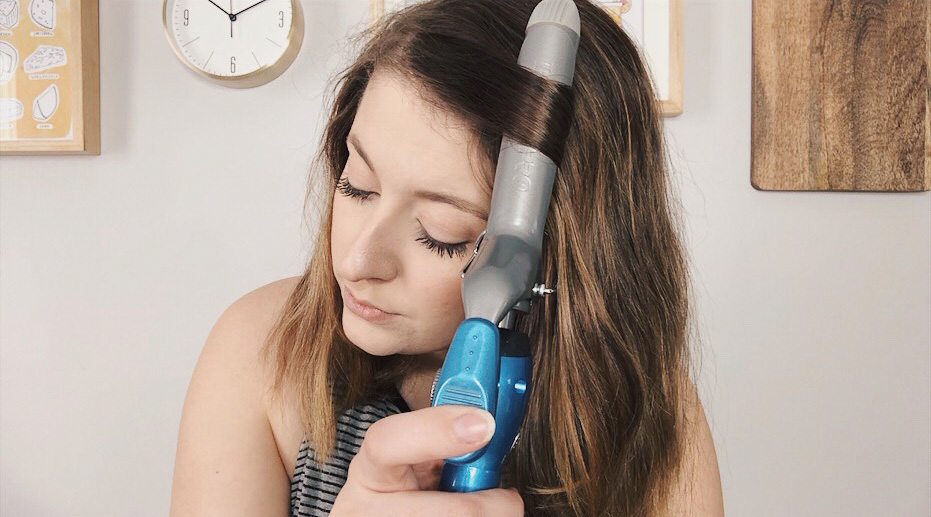
Once I hold it for about 5 seconds, I lift the clamp slightly, slide the curling iron down to where there is about 1-2 inches of hair left, and wrap the hair around the curling iron away from my face. Leaving hair at the bottom out of the curling iron is key. I hold this for another 5-7 seconds. When I am ready to release the curling iron, I unravel the hair one time around the curling iron and then slide the rest of the way down, all while not releasing the clamp. So you are starting to unravel the hair, but then you slide and slightly tug of the hair. This is the most important part of this. This slide technique is what makes the curl into a wave. I continue this method all around the top layer of my hair. I do the bottom pieces in bigger sections since they likely won’t be seen. And I always curl away from my face.
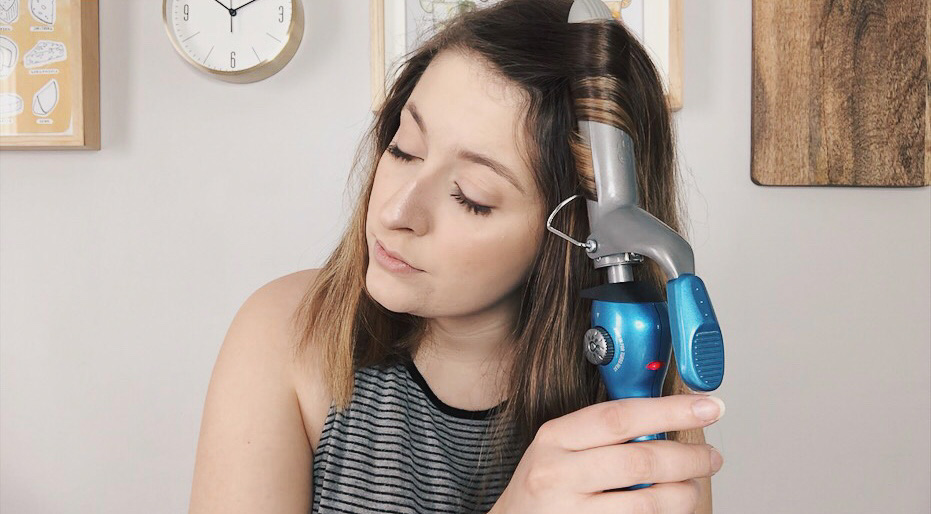
So the formula is: Clamp, slide, wrap once at the top, hold, slide down till there are 1-2 inches at the bottom, wrap around, hold, begin to unravel, then slide to the ends. Sounds involved, but I promise it is really easy. Check out the video above to see the technique in-action!
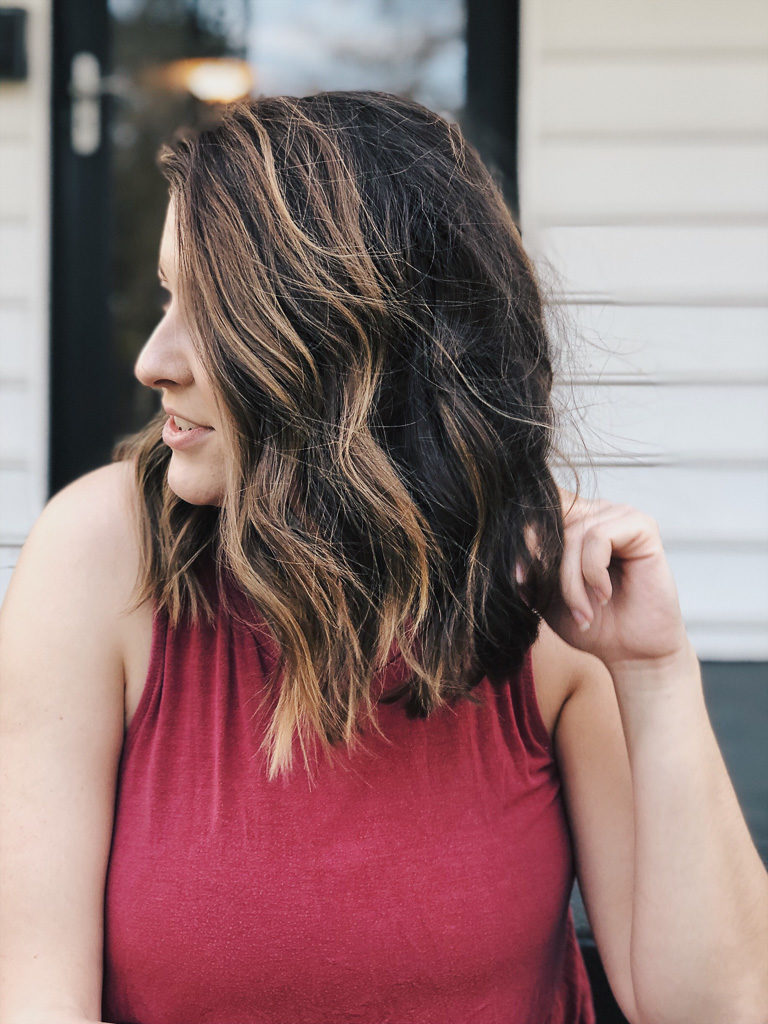
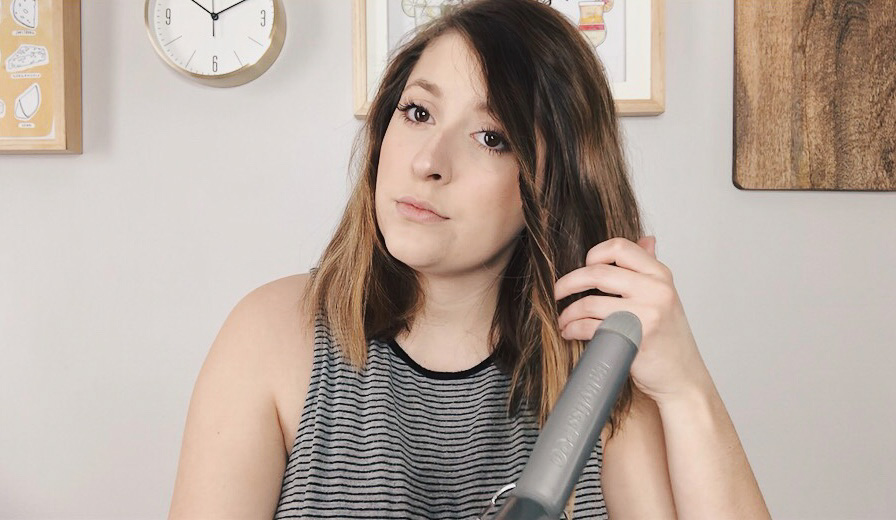
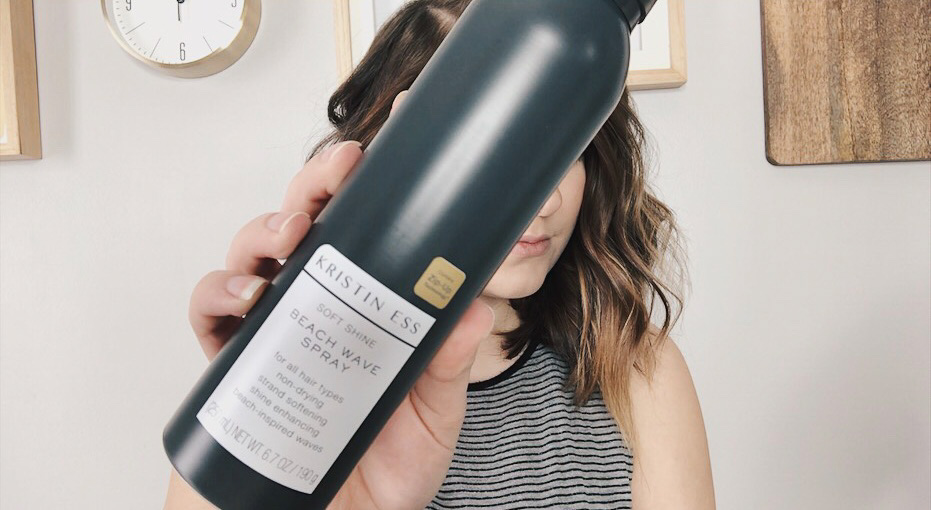
Once I’ve done my entire head, I mess the waves up a bit. They may look really curly at first but with a little tousling, they end up being the prettiest beachy waves. To add to the beachiness, I spritz some Kristin Ess Beach Wave Spray throughout my hair. This product makes the hair more textured and adds a touch of shine.
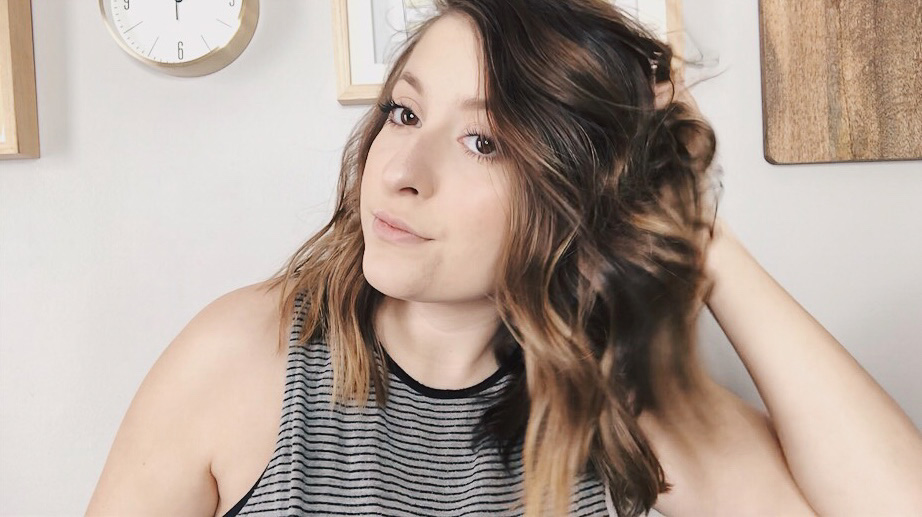
Give your hair a little tousle and TLC and voila! You look a beachy waves goddess! Let me know if you try this hair tutorial out!